One of my favorite things to do after a trip is edit all the pictures we took. It’s a great way to relive some of our favorite travel memories. Editing in Lightroom allows me to create vibrant, eye-catching images that are perfect for posting or printing. Check out this guide to editing amazing travel photos.
I get so excited to edit all the pictures we take on our trips. You can usually find me happily editing the entire plane ride home. After years of trial and error, I have a specific shooting system that allows me to edit in a way that creates consistent and cohesive images. We always shoot in manual mode using our Canon 5D Mark IV, but these editing tips work for phone photos too!
Read More: How to Take Better Vacation Photos
I love using Lightroom to edit photos. It is very user-friendly, and they have a mobile app that allows for quick and easy editing. They also have a desktop app that offers a few more features. While the mobile app is free, we personally subscribe to Adobe’s photography plan which gives us access to the desktop and mobile versions of both Lightroom and Photoshop as well as 20GB of storage for $9.99 a month. For the number of pictures we take on each trip, this is well worth it.
Read More: Our Favorite Travel Related Camera Gear
Now onto the editing process… Once we have selected and imported our photos into Lightroom, it’s time to start editing.
-The first thing we always do is select Crop>Straighten to make sure our photo isn’t tilted at all.

-Next we select Optics and Enable Lens Correction. This brightens the image by getting rid of any vignetting from the camera lens. This is especially evident in photos taken with a wide angle lens.

-From here, we go to the Light tab. The only settings we usually adjust here are exposure and contrast. Since we like bright images, we up the exposure anywhere from +21 to +60. We then add a little bit of contrast, somewhere between +7 to +12.

-Next up is the Color tab. There are so many options in this tab from adjusting the white balance of the image to adding saturation and vibrance. Since we shoot with an Expodisc, our white balance is pretty accurate in camera. We rarely adjust the tint and temperature of an image. We do normally up the saturation and vibrance just a bit to make the image really stand out. There is also an option to adjust each individual color in the image. Select Color Mix and each color will come up. Here we typically always adjust the saturation of the greens and yellows in the image. When we increase the exposure or brightness of an image, these colors tend to appear “hot”. Decreasing the saturation of these individual colors is just a preference.


-In the Effects tab, we increase the clarity.

-In the Detail tab, we increase the sharpness of the photo anywhere from 60-85%.

And that’s it! Our photo is ready to be exported. If we plan on posting the image on social media, we will export it as a jpeg with 2048px and 100% image quality. If we plan on printing the photo to display or put in an album, we tend to export it with the largest available dimensions or around 3600px.

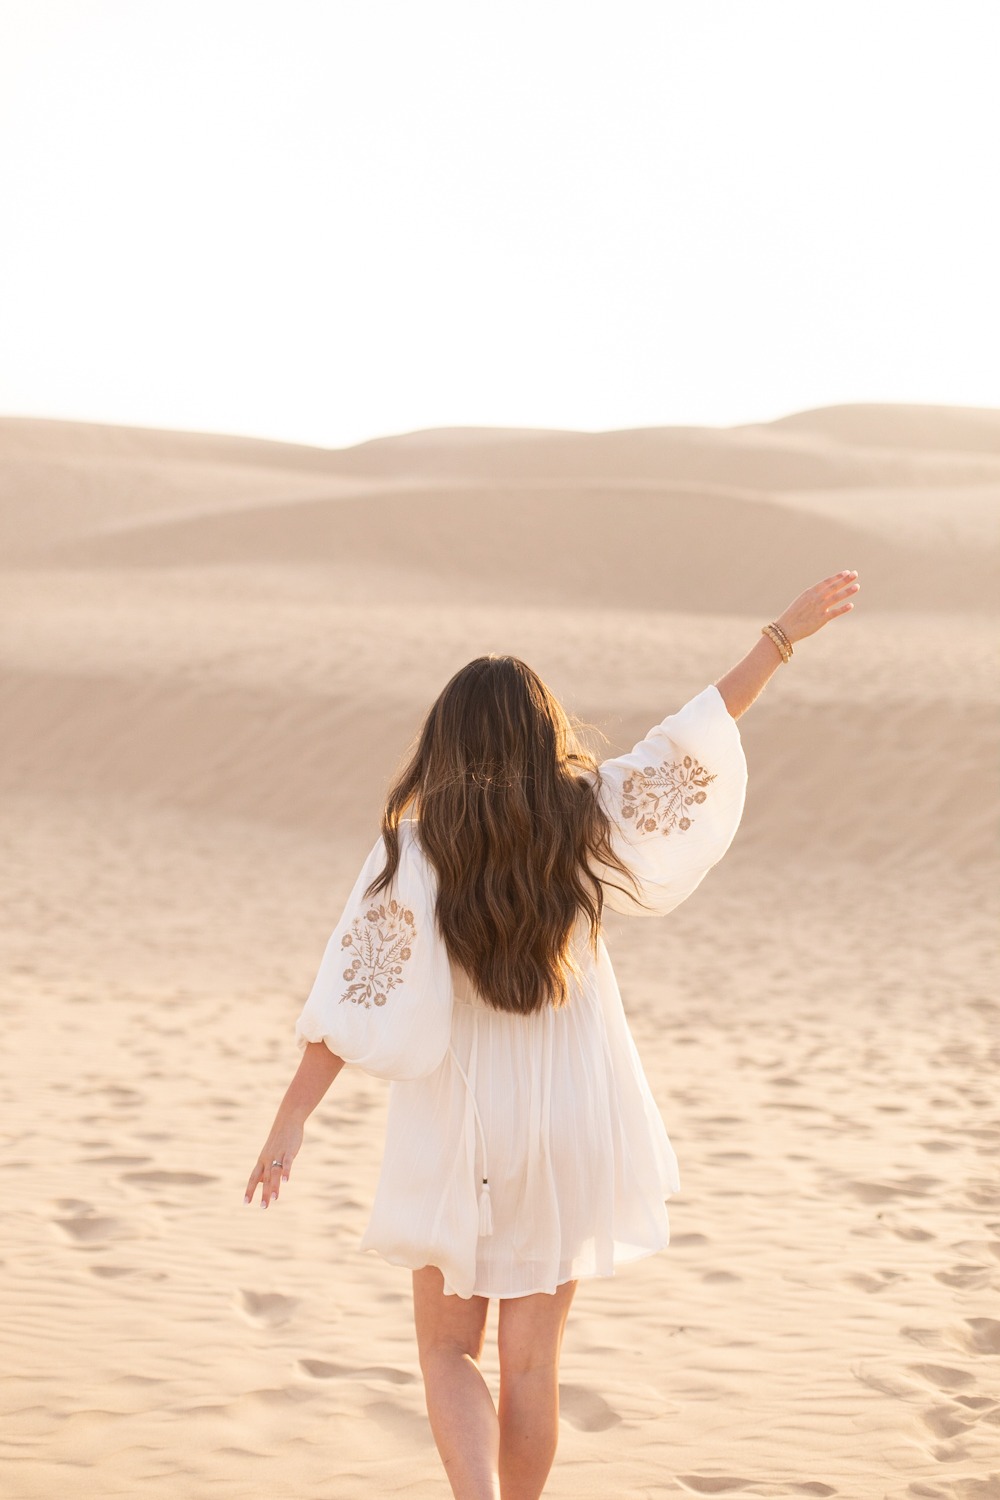
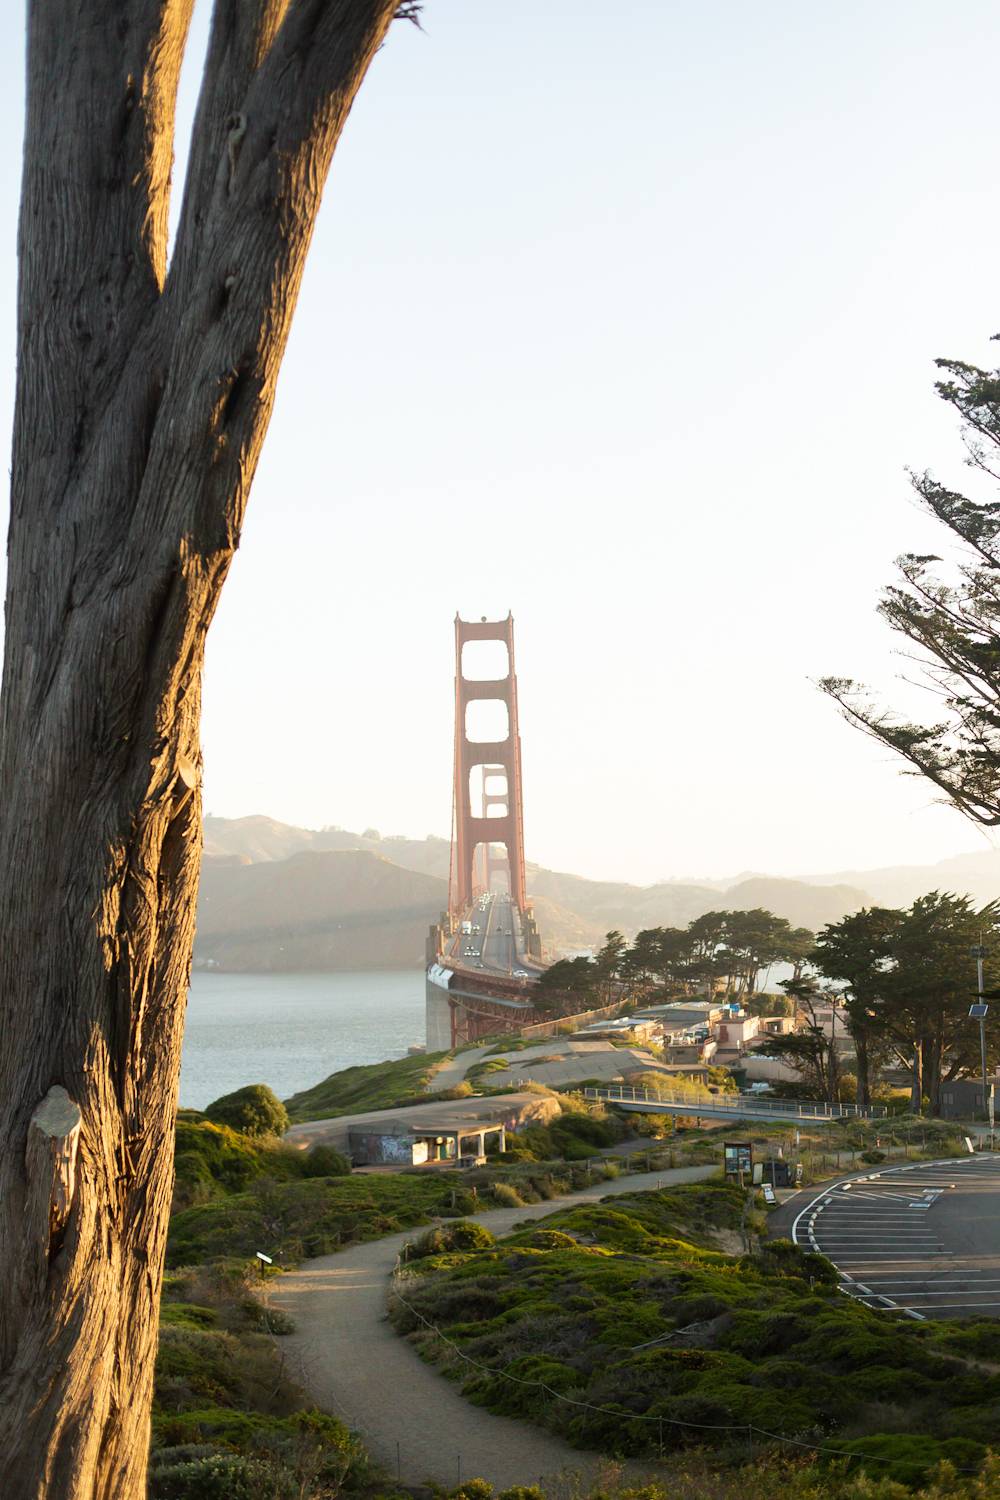
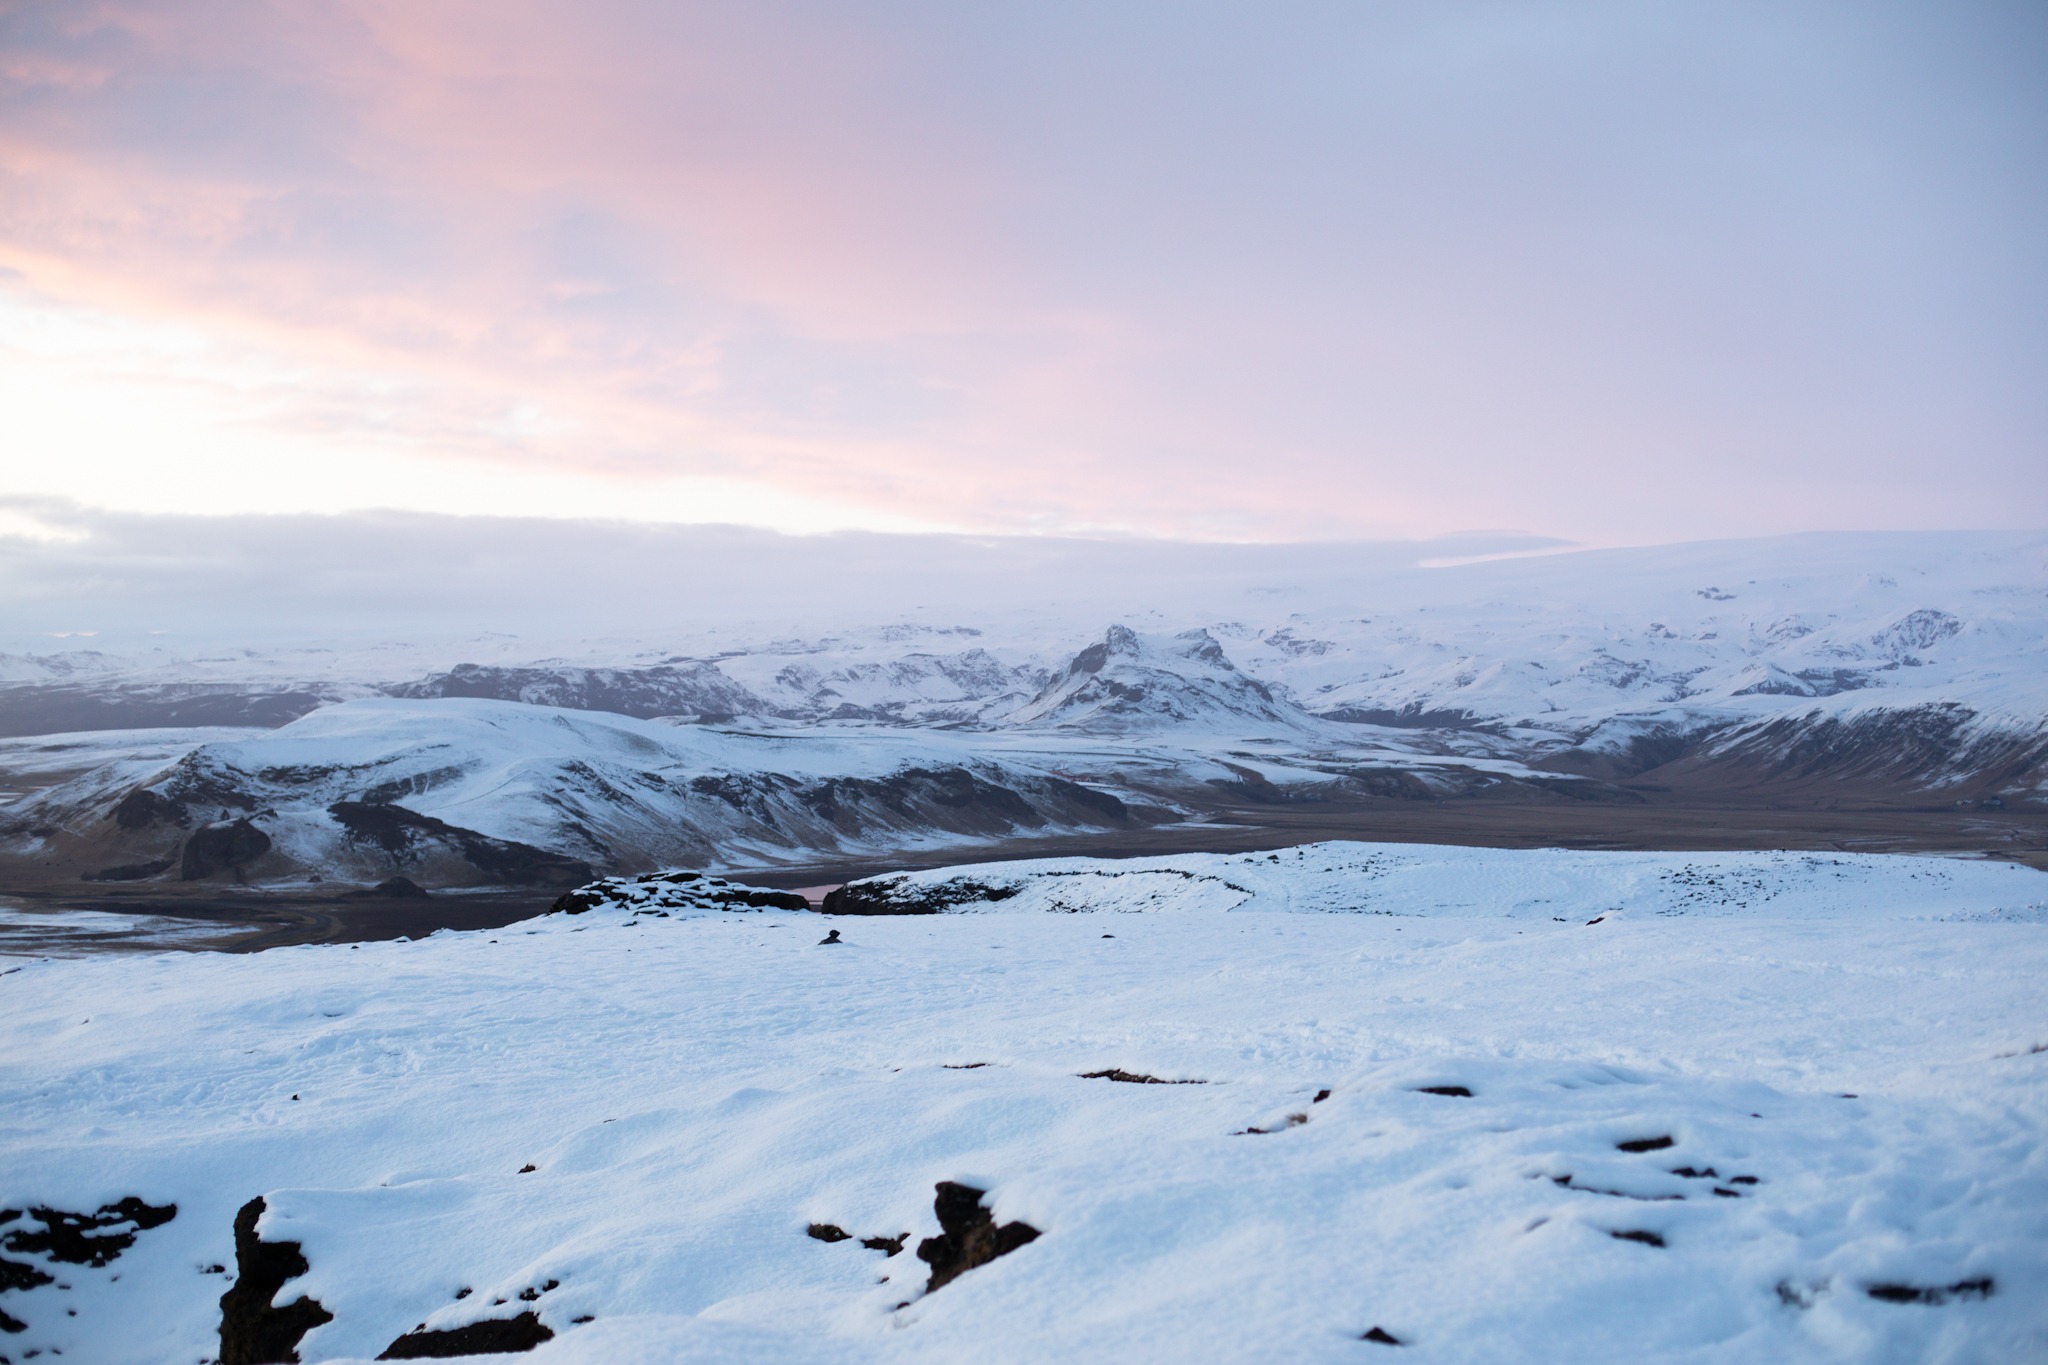
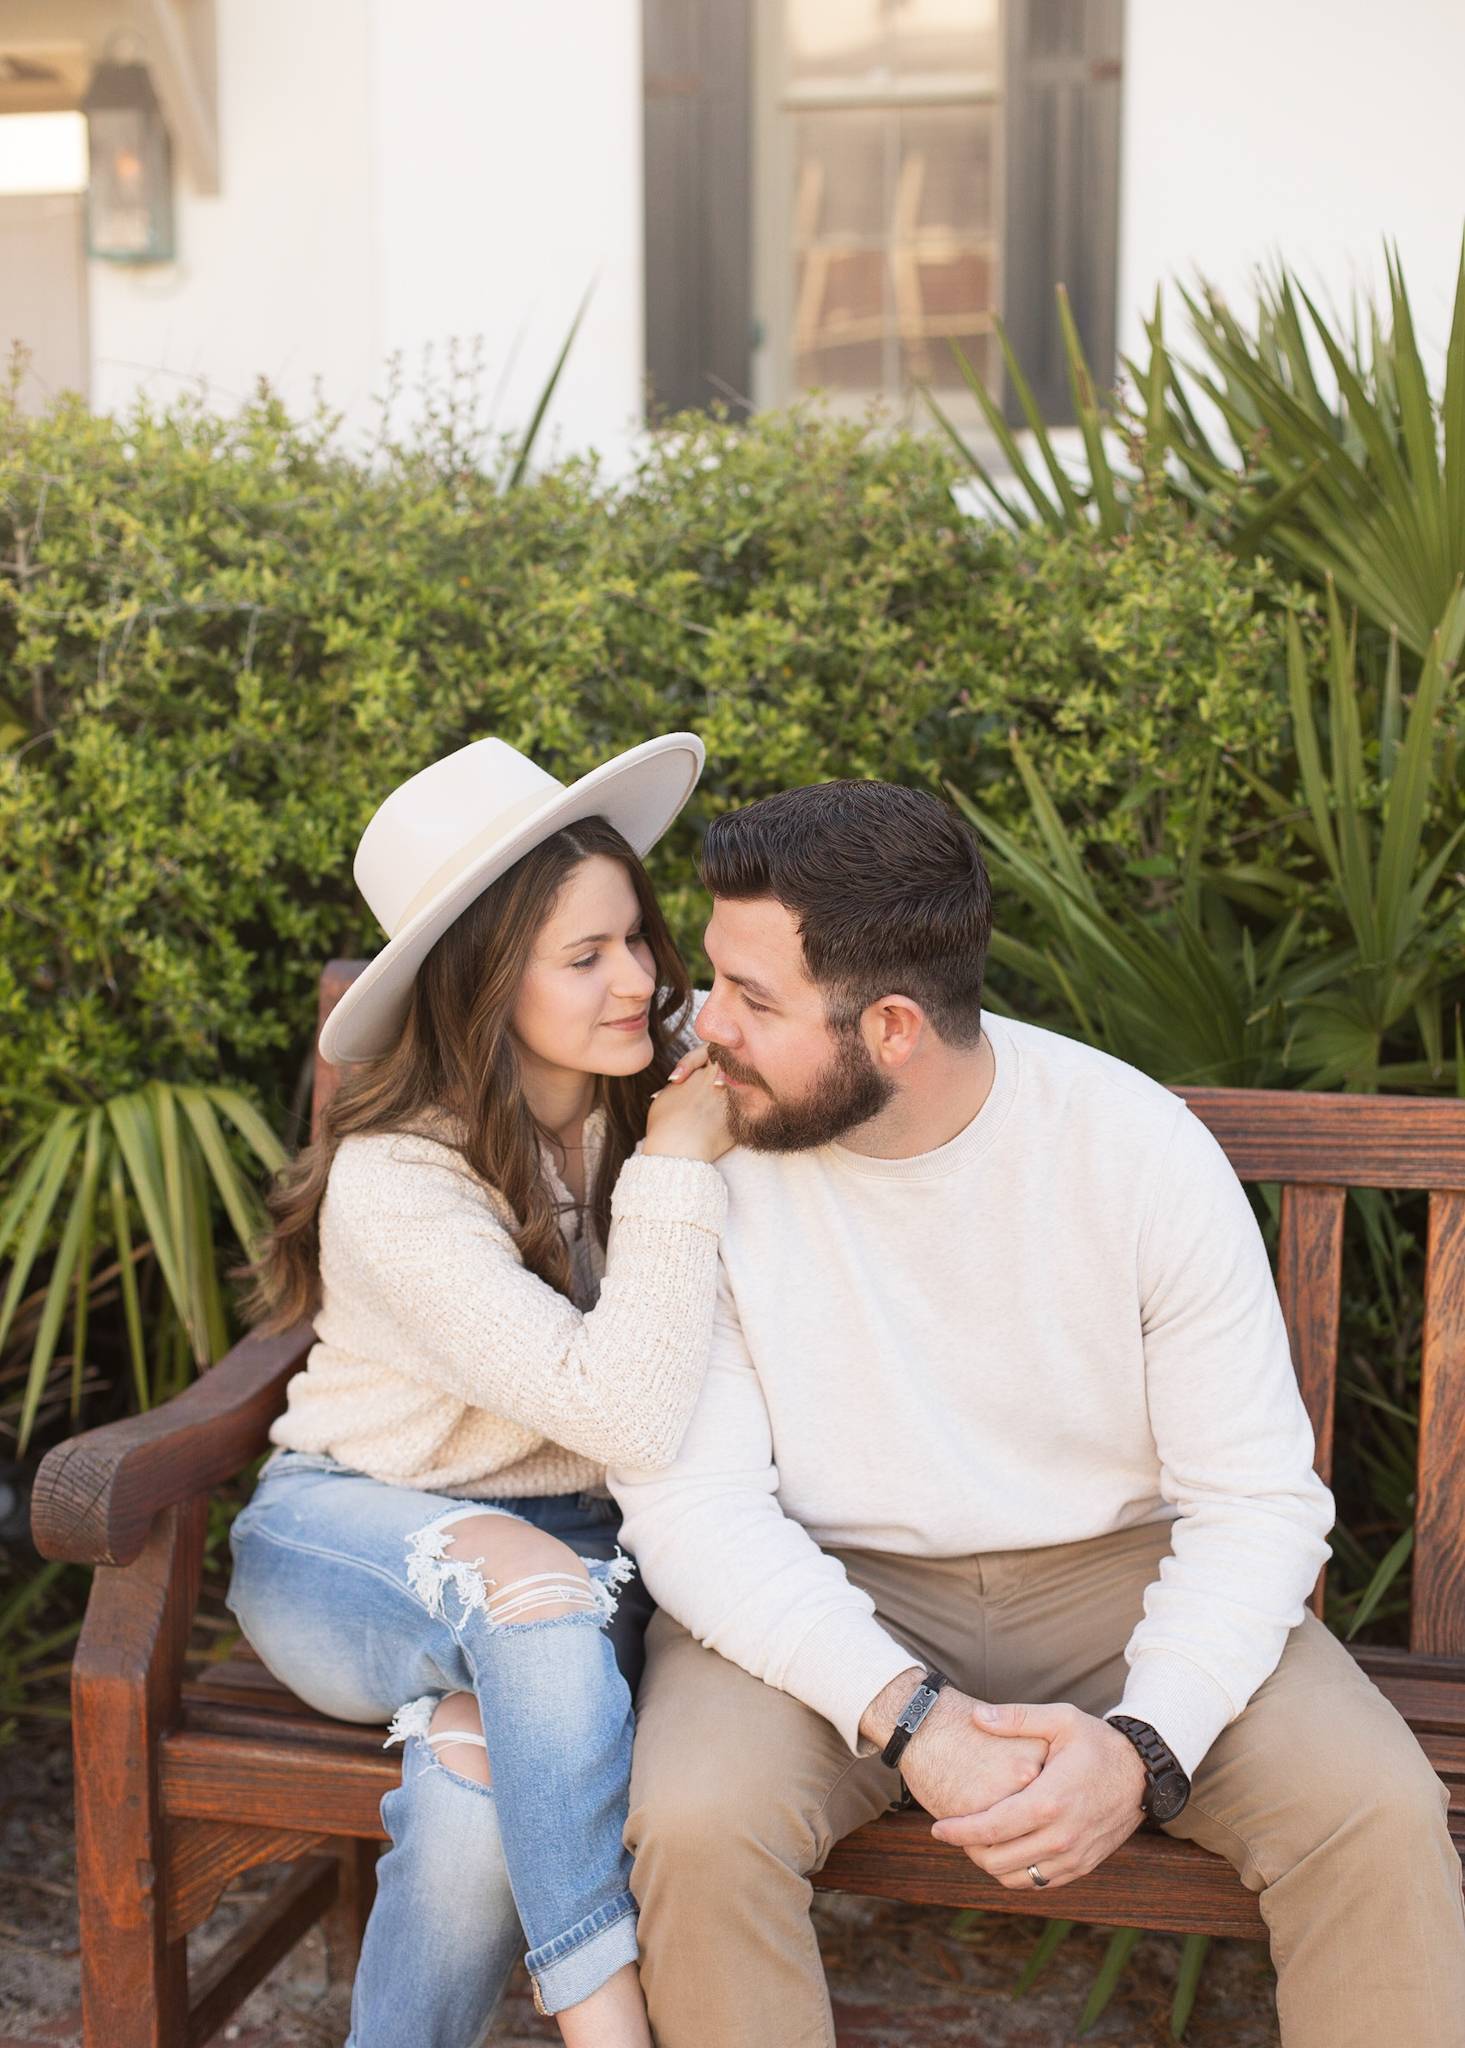
One last tip-if you have a series of photos that have been shot in the same location, Lightroom has a copy/paste option. Once you have edited one of the pictures from the set, you can select the three dots in the right corner of the app and select copy settings. On your next unedited photo, select the three dots and click paste settings. This makes the editing process so much faster for us! Here are some before and after images using this editing process.


We hope you found these tips to be helpful!