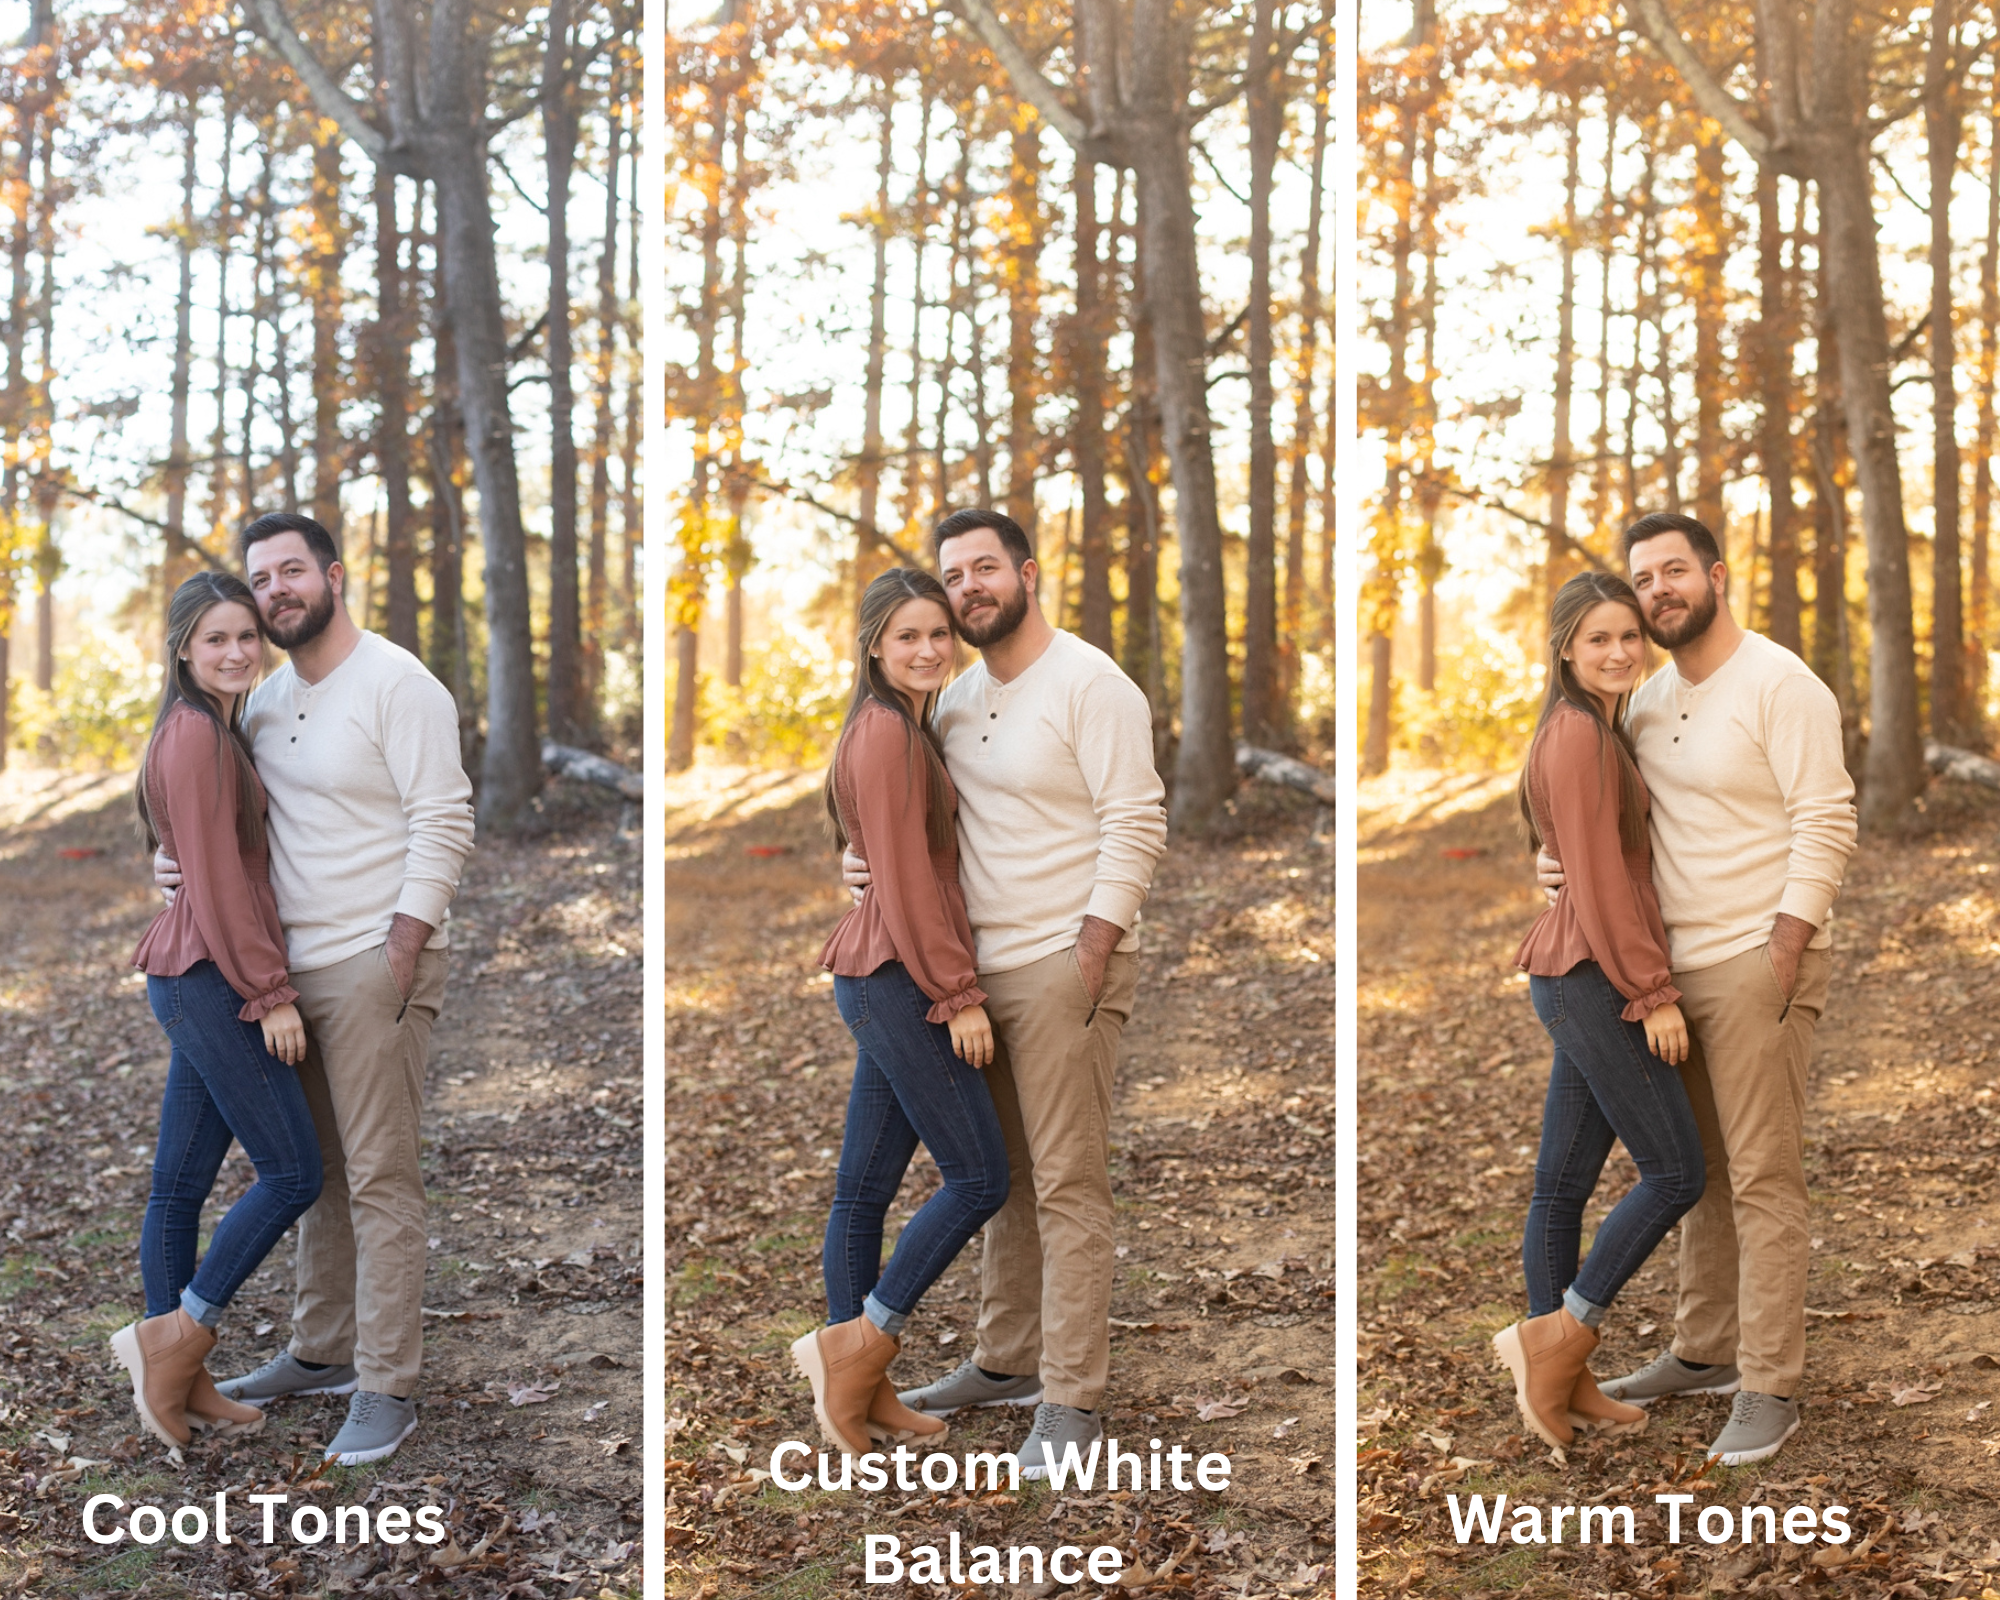
How to Get Perfect White Balance Using the Expodisc

With settings like auto white balance, Kelvin, and custom white balance, it can be confusing to know which one to use. This tool completely changed our photography and has helped us create consistent images. Here is how to get perfect white balance every time using the Expodisc.
One of our biggest frustrations when taking travel photos was achieving perfect white balance. We would spend so much time editing in Lightroom trying to fix the white balance of our images. We understood the exposure triangle and how to find good lighting, but if the white balance was off, nothing else really mattered. The Expodisc helps you save time editing by setting perfect white balance in camera.
What is White Balance?
White balance is a term that refers to how warm (yellow tones) or cool (blue tones) your image appears. In other words, white balance affects the true colors in your image.

White Balance Settings
Most DSLR cameras have a variety of white balance settings.
Auto White Balance
Auto white balance allows your camera to set the white balance for your image based on the scene and lighting. This option is not the best, as it tends to not have the most consistent results.
Presets
Most cameras also have white balance presets that can be selected based on lighting. These include: shade, cloudy, daylight, fluorescent, and tungsten. These white balance settings do not always work. When we used the preset white balance options in our camera, we found that we would often take a photo using each white balance setting to find the one that looked the most natural.
Flash
This white balance setting is used when flash is also being used for low light settings.
Custom
Custom white balance can be achieved with a gray card, Expodisc, or by taking a picture of something white around you. When selecting custom white balance, you will also select an image from your camera to manually set the white balance. We always use custom white balance, so we’ll go more in depth below.
Kelvin
Kelvin refers to using the Kelvin scale to set your white balance. The Kelvin scale is a color temperature scale used to assess the lighting around you and setting the white balance using a numeric value. We have used Kelvin before. However, similar to using the white balance presets, it would take a minute to find which value looked the most natural.
The Expodisc
The Expodisc is a total game changer when it comes to white balance. Not only does it take all the guesswork out, it also helps you create consistent images.
The Expodisc is a white balance filter that is used to set custom white balance. This tool comes in different sizes for various lenses, however you can purchase one Expodisc for your largest (mm) lens. The Expodisc does not have to attach to your lens to be effective, so one Expodisc can be used for all lens sizes. We personally use a 77mm Expodisc.
How to Use an Expodisc
Before we get into how to use an Expodisc, the process can be slightly different for each camera model. For example, the process for setting custom white balance on a Canon camera might be different than setting custom white balance on a Sony. We shoot with a Canon 5D Mark IV, so these steps will be for a Canon camera. If you do not shoot Canon, consult your instruction manual.
- Set your exposure.
- Set your camera lens to manual focus (MF).
- Stand beside your subject if taking a portrait. Stand with your back to your subject if shooting a landscape.
- Place your Expodisc over your lens with the textured side facing out, and the white side covering your lens. Take a photo.
- In your camera settings, set your white balance to custom. Then select “Custom White Balance”. Your camera will then display the image you just took. Click “Set”.
- Switch your lens back to auto focus (AF) and walk back to face your subject.
- Take your photo.
We repeat this process as needed. When changing locations or the lighting changes, we set our white balance again.
We find the Expodisc to be such a useful tool when taking travel photos. For a full list of the camera gear we use, check out our post here. We also have other photography resources like our editing guide and guide to taking better self-portraits.


